Show finger taps when recording your screen on iOS
Our mobile application does not capture user gestures, such as taps and swipes, for display within the recorder, in order to protect your privacy. However, you can enable AssistiveTouch on your Apple device and our application will capture these gestures, drawn by your operating system directly on the screen.
This article discusses how to enable AssistiveTouch on your Apple device. For more details about AssistiveTouch from Apple Support, see this article.
For information about Android devices see Show finger taps when recording on your Android device.
Click the button below to download the ScreenPal app for iOS!
Enable AssistiveTouch
1. Open the Settings app on your Apple device.
2. Tap Accessibility. (On older versions of iOS, these settings can be found under General > Accessibility.)
3. Under Physical and Motor, tap Touch.
4. On the Touch screen, tap AssistiveTouch.
5. Switch the AssistiveTouch toggle to the on position.
Turning this feature on displays the AssistiveTouch shortcut on any screen.
Add a custom tap gesture
1. From the AssistiveTouch screen, tap Create New Gesture.
2. Recording begins automatically when you touch the screen. To create a tap gesture, tap the screen once and then tap Save in the upper right corner.
3. Enter a name for the new gesture, such as "Tap", and then tap Save.
Use AssistiveTouch when recording your screen
1. Begin your recording and then tap the AssistiveTouch shortcut from the app or screen that you want to record.
2. From the menu, tap Custom.
3. Tap the Gesture that you previously created (in this example Tap).
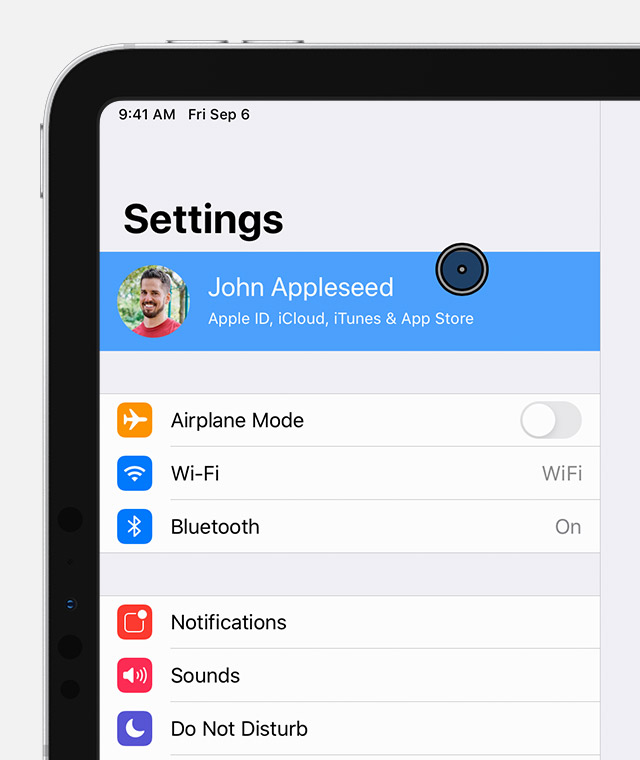
4. A gray button is displayed on the screen wherever you touch a control. Simply tap the AssistiveTouch shortcut again to remove this button.

INFO: For more information about AssistiveTouch, including how to turn it on, how to use AssistiveTouch instead of gestures, how to use AssistiveTouch for multi-finger gestures (such as pinch and rotate or multi-finger swipe or drag), and how to use custom actions, please see this article on the Apple Support site.