Edit an uploaded video
How do I edit a video I’ve uploaded?
If you’ve uploaded a video project to your ScreenPal hosting account and you need to edit it, you have two options.
Edit the original video project located in your Project Manager by opening the project in the video editor.
Edit from the uploaded video by importing it into the Project Manager and the opening in the video editor.
Option 1: Edit the original video project (recommended)
 Note: When you edit from the original video project, you have access to all raw editing, including all your editing history, to have the most flexibility in updating and re-using your video content.
Open the video project from your Project Manager
1. View the editable version of your video project by opening Project Manager. Click the thumbnail of the video project you want to edit.
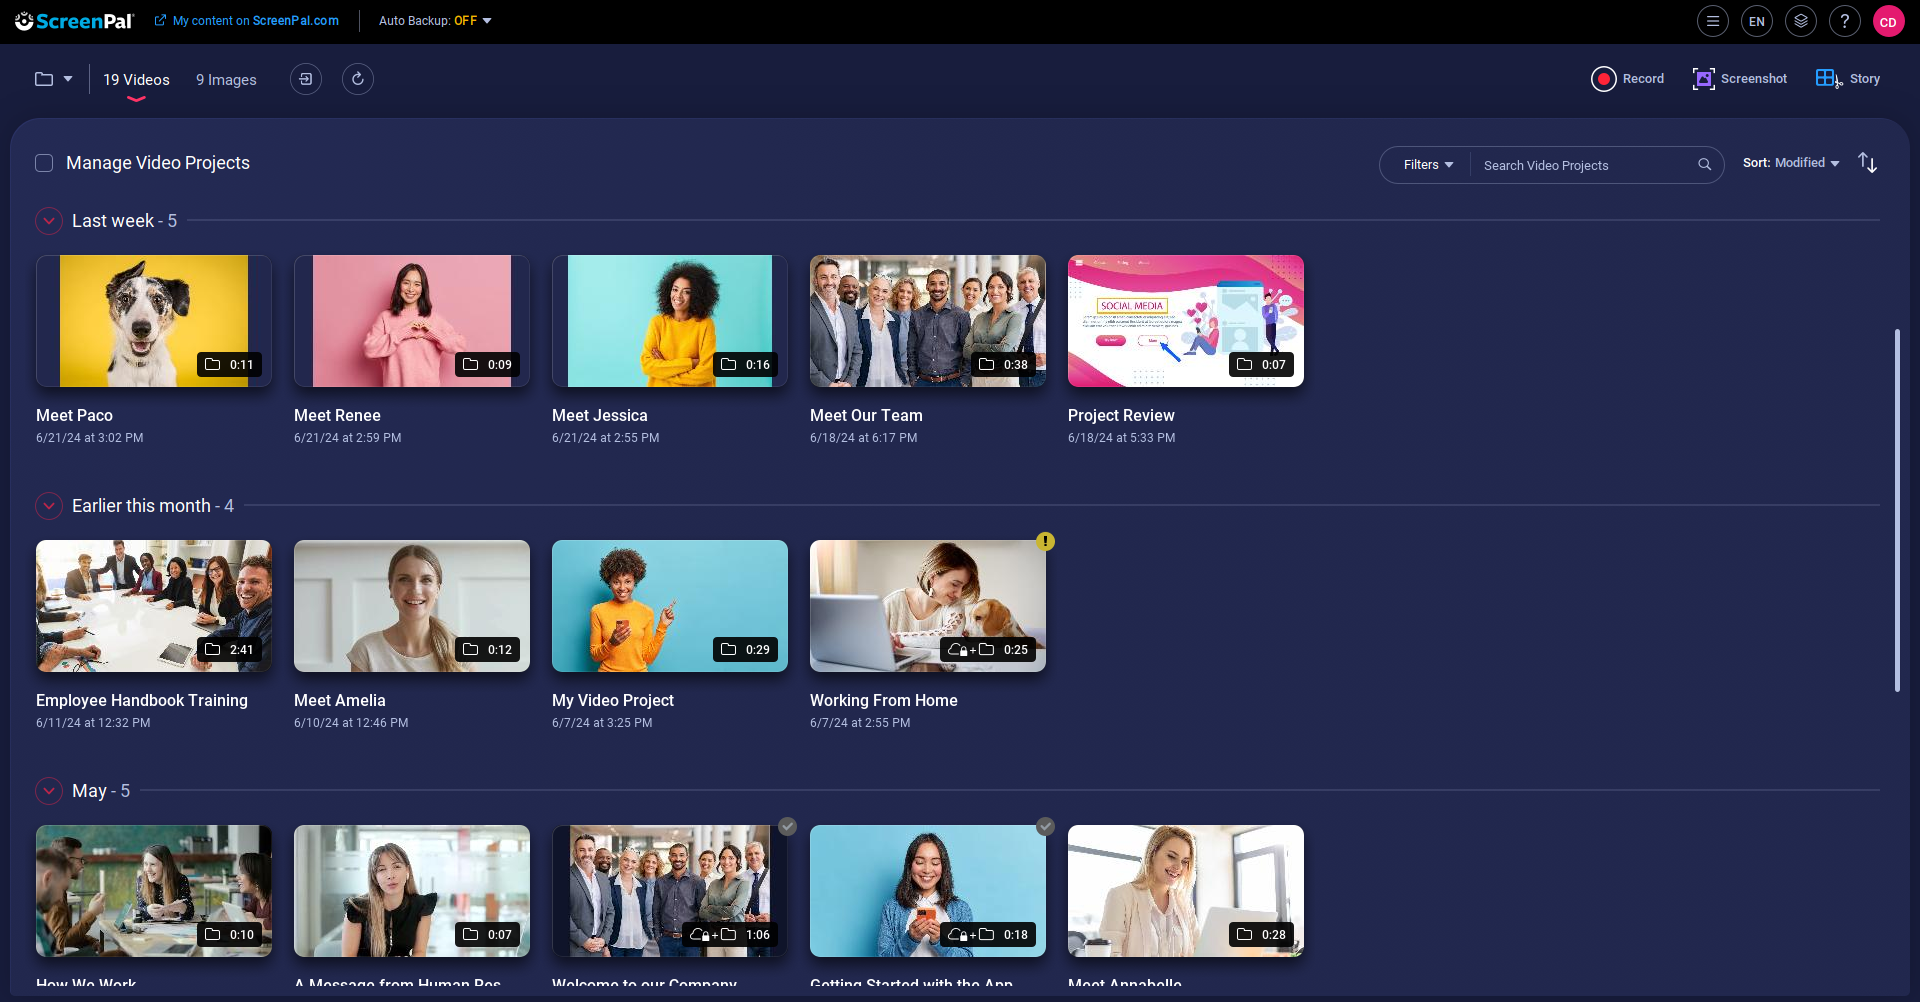
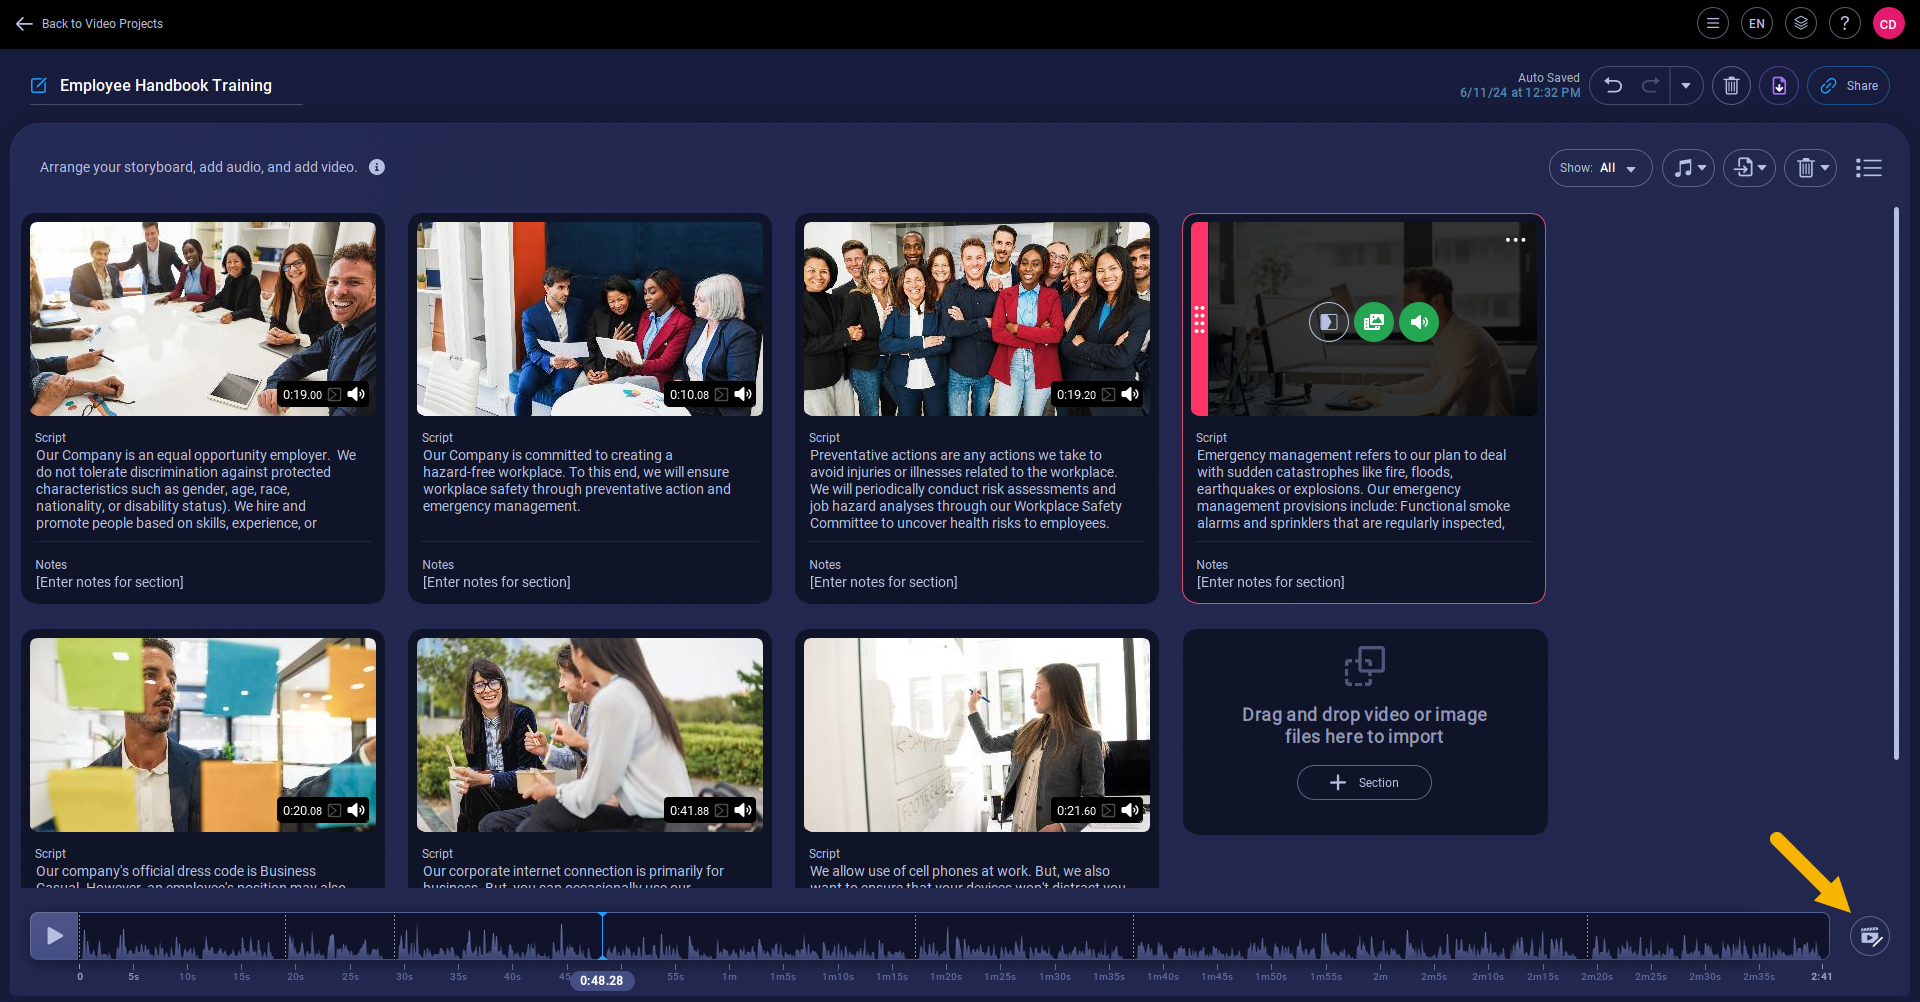
2. If you originally created the video using the Stories feature, the storyboard or script view opens. Click the Video Editor button in the bottom right to open the video in the Editor.
1. View the editable version of your video project by opening Project Manager. Click the thumbnail of the video project you want to edit.
Option 2: Edit the recording from the video file uploaded to ScreenPal.
If you no longer have the original, editable version of your recording stored on your computer, but you uploaded it to your ScreenPal hosting account, you also have the option to import the recording into your Video Editor as an .MP4 video file and make edits.
Note: Some editing options will not be available when editing a recording this way, as not all of the editable data is maintained when the original recording is saved to an .MP4 file.
1. To send a published recording as an .MP4 video file to the Video Editor, log into your ScreenPal account.
2. Click My content at the top of the page, and then hover over a video and click the Details button.
3. Click the More button and select Send to Video Editor.
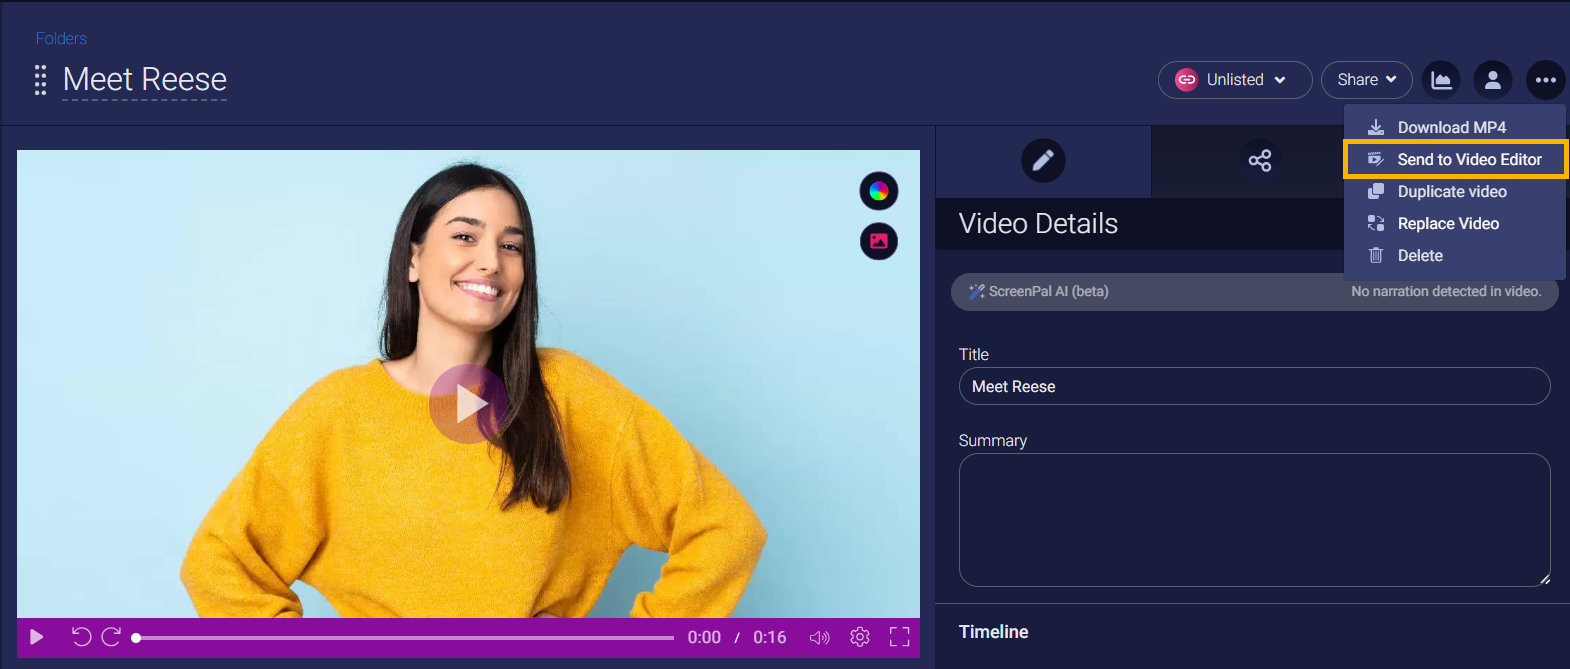
The recording is sent to the Video Editor and you can start editing.
If you no longer have the original, editable version of your recording stored on your computer, but you uploaded it to your ScreenPal hosting account, you also have the option to import the recording into your Video Editor as an .MP4 video file and make edits.
1. To send a published recording as an .MP4 video file to the Video Editor, log into your ScreenPal account.
The recording is sent to the Video Editor and you can start editing.
Related Articles
Edit a video project across a team
You can use the Video Editor to edit your co-worker's video projects, also known as .screenpal (or .somrec) files. To share your video files for editing with your team, you will need to export them from your Project Manager. Click Manage Video ...Why can't I see my video on my ScreenPal Content page online?
Why can't I see my videos and images created in the app on my online Content page? Content you create using the ScreenPal app (recordings, screenshots, and so forth) is stored locally on your device. Content is only uploaded to your ScreenPal hosting ...Add or edit captions
There are several options for adding captions to a video: Add captions directly in the interactive captions editor. Upload a new captions file (you can do this in the desktop app, or in your hosting account after uploading the video to ScreenPal). ...Add or edit a channel
Add a new channel To add a new channel to your account, follow the steps below. 1. Within your ScreenPal hosting account, from the left navigation bar, click Channels. This opens the Channels page. 2. To create a new channel, click the New Channel ...Unable to edit an imported video
Why can't I import or edit this video? Most likely, the video is saved with High Efficiency (HEVC or HEIF), meaning that the video has been encoded with a compression method that we cannot read. Videos saved from iOS or Android devices are sometimes ...